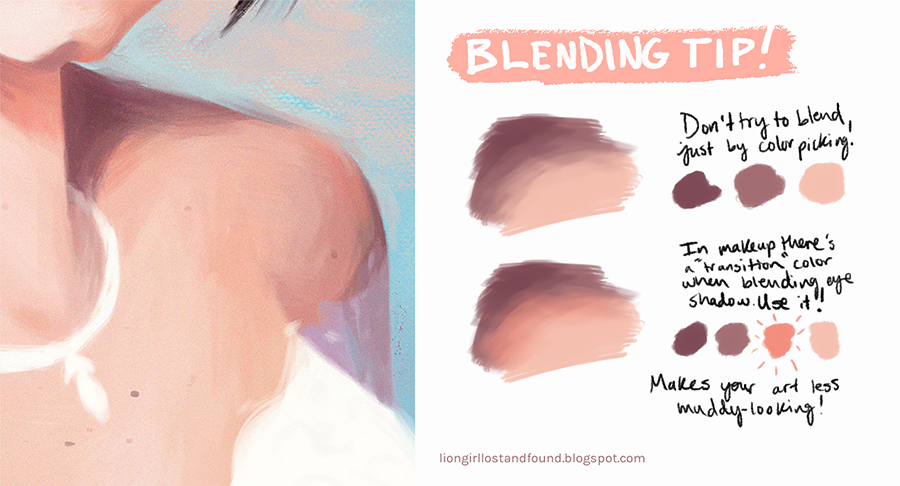
Lo and behold, the first bit of art advice I’ve ever posted to the internet! This blending tip was quickly tossed together almost 3 years ago when my brother asked my sister and me for help with digital art. With all of the rounds it’s made on social media, I decided it was about time I address all of the questions and comments that have come up in one place.
Before I get into it, I want to clarify that this doesn’t only apply to painting skin. At the time I made it, I was working on a portrait for my friend’s birthday and used the colors in the painting to illustrate what I meant. It happened to be the colors I used for her skin, but you can apply this wherever you see fit!
Hair is one of those many things that doesn't come easy for me, but it got a whole lot easier once I had to teach it to someone else. About a year ago, someone requested that I make tips on how to draw and paint hair, making me really have to think about how I even approach hair when I draw. So for anyone else who wants to leave their characters bald sometimes, here's my cheatsheet for hair, including my own tips and other resources I've collected over the years!
Hair is one of those many things that doesn't come easy for me, but it got a whole lot easier once I had to teach it to someone else. About a year ago, someone requested that I make tips on how to draw and paint hair, making me really have to think about how I even approach hair when I draw. So for anyone else who wants to leave their characters bald sometimes, here's my cheatsheet for hair, including my own tips and other resources I've collected over the years!
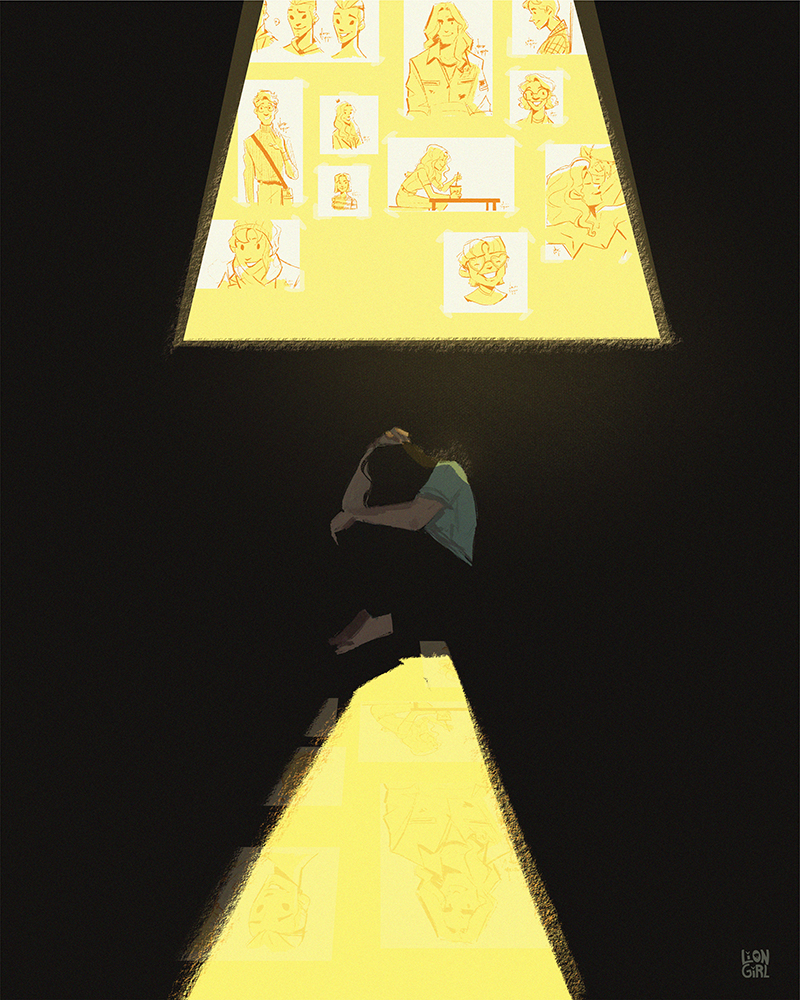
Between developing my portfolio and skills and looking to the future, I’ve had to be honest with myself a lot these days. It’s made me think about how as artists, we really need to look within ourselves to find what we want. Sometimes half the battle is just getting ourselves to accept the truth. Maybe we run from it because we’re scared or we don’t believe in ourselves, but finally coming to terms with what you want and who you want to be is so freeing. Your best work will come out of it!
This post goes pretty hand in hand with my 11 Tips to Overcome Art Block post. If you struggle with imposter syndrome, fear, your own feelings, being kind to yourself, or if you’re dissatisfied and wanting to bridge the gap between who you are and what you create, you might want to continue reading. I'm going to talk about my own journey grappling with these things in hopes that it might resonate with someone who needs it.
Art blocks are terribly frustrating. They're usually brought on by some problem you're having in your life, whether it be artistic or not, and have a special way of making the situation even worse. I've dealt with some pretty bad ones over the years and thankfully, I've figured out things to do that help the situation so now I'm better equipped for when they arise. In this post, I'm going to talk a little bit about my own experience and share 11 things you can try to get over your art block too. And of course, I'll share some links to helpful resources along the way.
Art blocks are terribly frustrating. They're usually brought on by some problem you're having in your life, whether it be artistic or not, and have a special way of making the situation even worse. I've dealt with some pretty bad ones over the years and thankfully, I've figured out things to do that help the situation so now I'm better equipped for when they arise. In this post, I'm going to talk a little bit about my own experience and share 11 things you can try to get over your art block too. And of course, I'll share some links to helpful resources along the way.
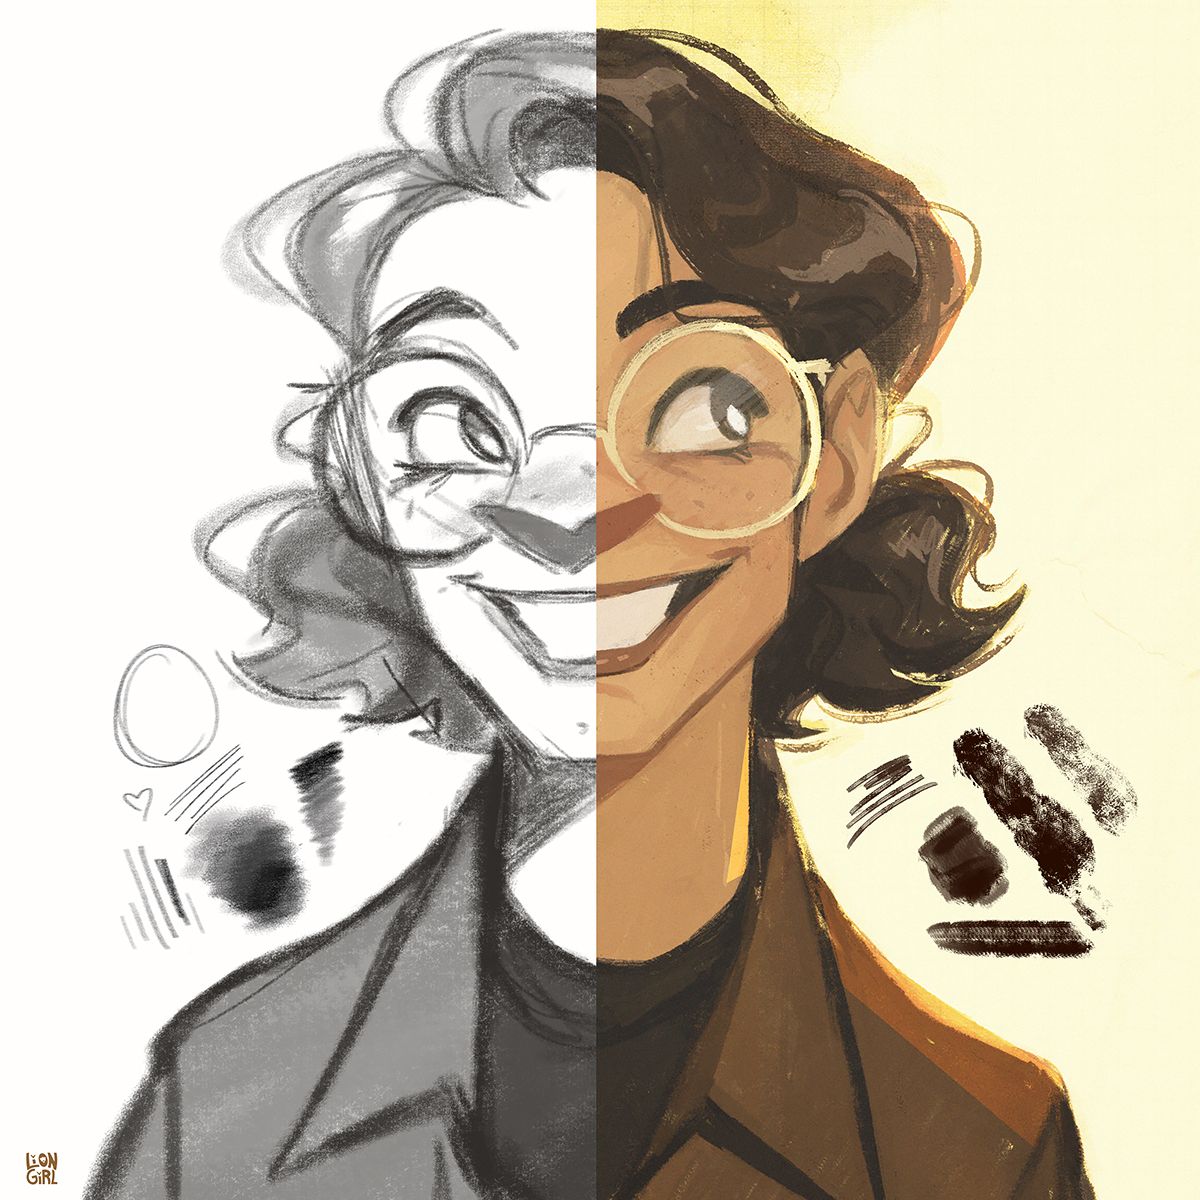
It’s true that the tools don’t make the artist, but it’s still really important to find (or create) brushes that you love to use. Choosing the right brushes for yourself can help you get adjusted to using a tablet if you’re just starting out, or even inspire your creativity. I find that the process of creating a new brush can lead you to ideas you may not have thought of otherwise too. So in this post, I’m going to break down step-by-step how I created two of my favorite custom brushes and give you some tips on how you can create your own! Maybe you’ll love the process as much as I do.
And to celebrate my first blog post, I’m offering both brushes for free! Feel free to skip past the tutorial and just snag the download links at the bottom of this post if that’s what you’re interested in.
Subscribe to:
Comments (Atom)


Social Icons