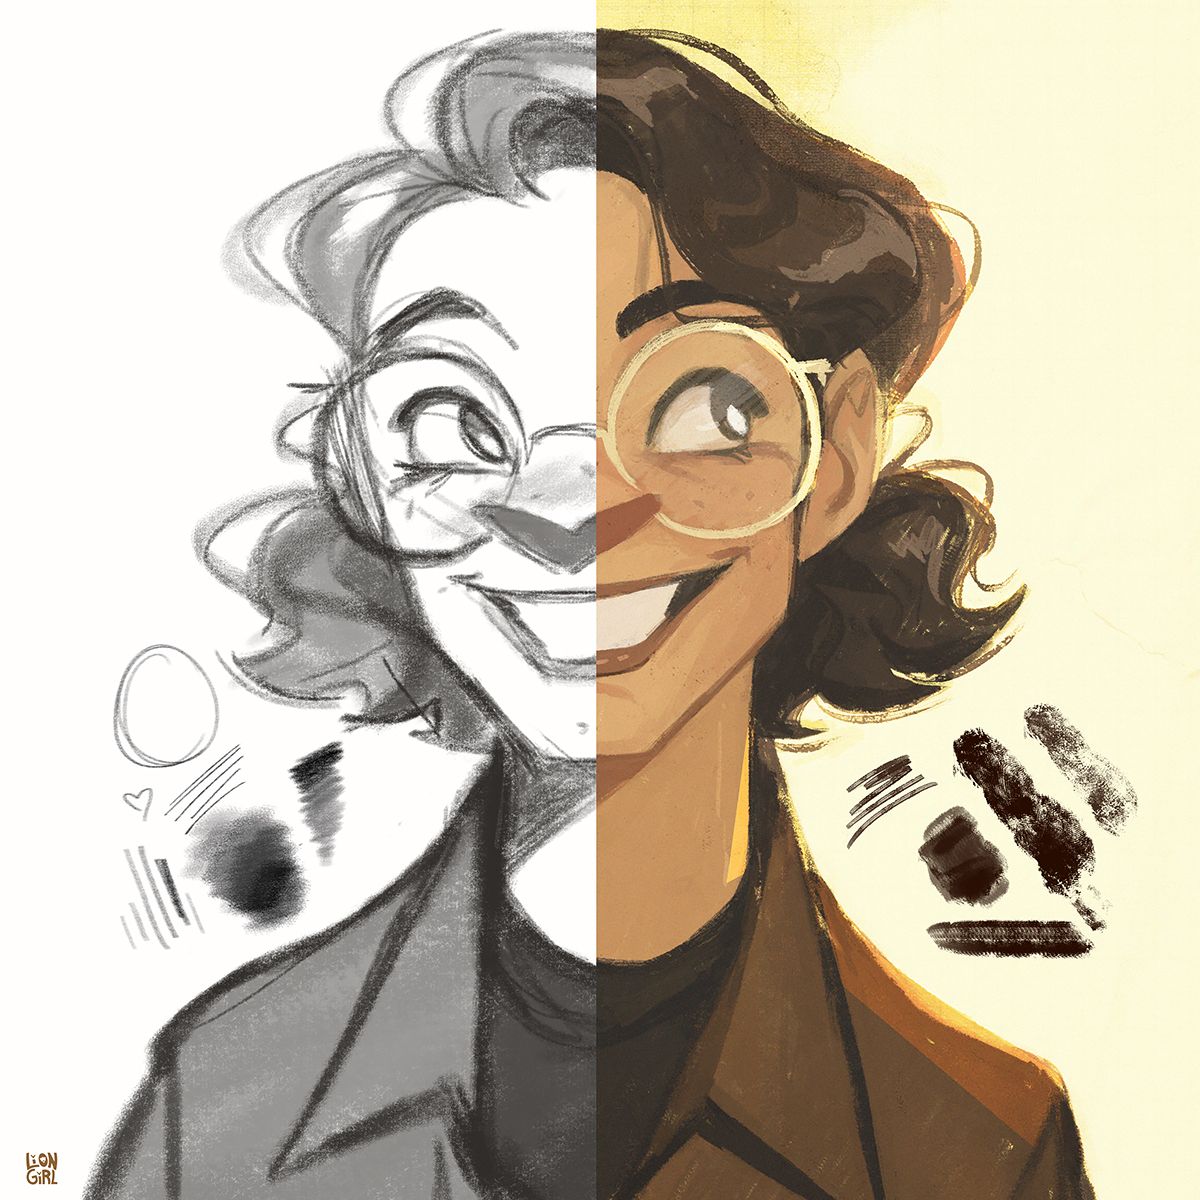
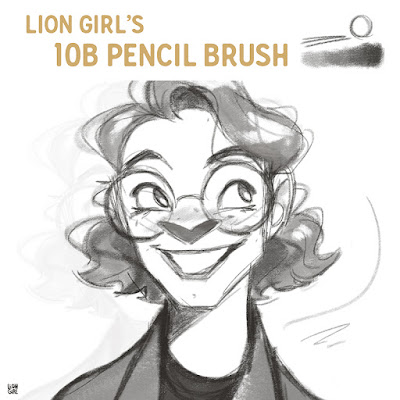
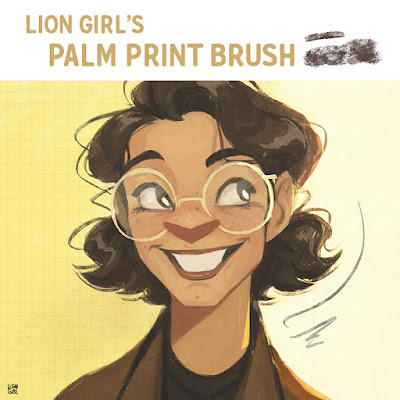
It’s true that the tools don’t make the artist, but it’s still really important to find (or create) brushes that you love to use. Choosing the right brushes for yourself can help you get adjusted to using a tablet if you’re just starting out, or even inspire your creativity. I find that the process of creating a new brush can lead you to ideas you may not have thought of otherwise too. So in this post, I’m going to break down step-by-step how I created two of my favorite custom brushes and give you some tips on how you can create your own! Maybe you’ll love the process as much as I do.
And to celebrate my first blog post, I’m offering both brushes for free! Feel free to skip past the tutorial and just snag the download links at the bottom of this post if that’s what you’re interested in.
How I Created My Brushes in Photoshop (and How You Can Create Your Own!):
Don't worry about how you're going to make your brush work at first— just decide what you want it to do. Creating imitations of traditional media (like a 10b pencil) can give you a more concrete idea of what you want, but there is a lot of fun and flexibility in creating a brush based off a vague concept!
Step 2 - Decide what kind of Photoshop brush best suits your goals (or try both!)
Most Photoshop brushes are stamp brushes and can be made from any shape you choose. It's definitely a great place to start. Bristle brushes can only be made by editing an existing bristle brush in Photoshop and then choosing whatever options you want, like a flat angle or round point tip. If you don't currently have any bristle brushes in your collection, feel free to work from my 10b brush to create your own.
I can't recommend one type of brush over the other because I still haven't figured out what they're each best for. If you already know what shape you want to create a brush from like I did when I made my painting brush (either my finger or palm print), go ahead and make a stamp brush. In the case of my 10b brush, I found that the bristle brush was a lot more successful at achieving how smudgy and soft a 10b is than my other two attempts using a stamp brush.
I can't recommend one type of brush over the other because I still haven't figured out what they're each best for. If you already know what shape you want to create a brush from like I did when I made my painting brush (either my finger or palm print), go ahead and make a stamp brush. In the case of my 10b brush, I found that the bristle brush was a lot more successful at achieving how smudgy and soft a 10b is than my other two attempts using a stamp brush.
Finally, define your pattern in Photoshop so you can apply it to your brush later on from the brush panel. Flatten your pattern (or open the pattern you chose if you didn't create your own) and then go to edit -> define pattern. Enter the name you want, hit ok, and you're done (for now)!
Creating a stamp brush in Photoshop is really easy! You can create any shape you want using Photoshop's shape tools, the pen tool, the lasso tool, or other brushes. You can also get the shape from an image or a scan/photo of something you did on paper— that's what I did for my palm print brush. No matter which option you choose, I'll explain how you can get it loaded into Photoshop.
To isolate my palm print from the photo I took, I used the same levels trick that I used to darken my texture in step 3! Pick the darkest area with the black eyedropper, and the lightest area with the white eyedropper. If you have anything else in the scan/photo like I did, just paint or fill over it with white.
If you made your shape on a transparent layer, you don't have to worry about selecting anything before you define your brush. But since mine was on a white background, I used the magic wand tool to select the white background and then hit ctrl+i to invert the selection so only my shape was selected. To define your brush, go to edit->define brush preset, name your brush, and hit ok! Easy peasy!
Step 5 - Experiment with the settings until you find something you like
I like to keep my spacing really low for normal painting and drawing brushes because I don't like the look of a repeated stamp. It's almost like the lines that show up if you don't make your texture seamless.
If you want pen pressure to control how big and small your brush is, you can set that under Shape Dynamics. Underneath "Size Jitter" there's a drop down next to "Control:." Select pen pressure there.
Scattering can be a good way to make your brush look softer and more textured, as long as you only scatter it a little. If you want to make a speckly and random brush, increase the scattering.
Texture is where you can add the texture for your brush. If you've already defined your texture as a pattern in Photoshop, it'll show up in the drop down box. There's a lot of blending modes you can apply to it. I just play around with them to figure out which one I like best. For my 10b, it was multiply, and for my palm print brush, it was overlay.
Dual brush might interest you if you want to overlay a different brush on top of the brush you're editing. It sounds odd, but once you play around with the options, you'll get the hang of what it's doing. I like to only use other brushes I've made as the dual brush if I decide to add one.
If you want your brush to blend or go from light to dark, turn on Transfer and Build-up. Transfer lets your pen pressure control the opacity and build up helps control both the opacity and the texture. Here's an old tip I made explaining Transfer and Build-up:
Step 6 - Test it out and tweak it until you're satisfied!
It took me 8 tries to make the latest version of my 10b brush, but even before then I had made 2 other versions. Sometimes the process of testing and tweaking your brush can take a while, and other times it's really quick! Hopefully the information in this blog post can help you create the perfect brush for you no matter how long it takes.
Lately I've been trying to figure out what kind of brushes I can make to speed along my process and make my art more exciting. I was really inspired by this post that I saw on tumblr. Give it a look!
And now to celebrate my very first blog post...
Lately I've been trying to figure out what kind of brushes I can make to speed along my process and make my art more exciting. I was really inspired by this post that I saw on tumblr. Give it a look!
And now to celebrate my very first blog post...
I hope you enjoy the brushes! I'd love to see what you make with them if you want to @me on social media with what you create. And If you have any questions or some brush making tips of your own, please feel free to leave them in the comments below!
Links included in this post:
Links included in this post:
Other links that might interest you:
- Digital Brushes - Free Ps brush collection
- My tips for getting adjusted to using a graphics tablet


Social Media App Development Company in Gurgaon provides the best and unique social media apps development services. We take advantage of the technologies available in the market hence being able to deliver unique solutions. Here, we present our professional team that has specialization in offering full-cycle solutions. Get in touch with us for your project consultation and let us create a great social media app together. Contact Us: 98106 76072
ReplyDeleteWeb development Company in Noida
ReplyDeleteSuch a meaningful and informative blog! The way you’ve explained the importance of compassion and service truly reflects the spirit of gau seva donation. Supporting cow welfare is not just a charitable act but a path toward preserving our culture and values. Keep sharing such valuable insights—this kind of awareness really inspires people to contribute positively to society.
ReplyDeleteGreat initiative! I really liked how this post highlights the importance of cow welfare and community support. Finding a gaushala near me has always been meaningful because it allows us to contribute directly to cow care and seva. Thanks for sharing such valuable information—keep up the wonderful work toward Gau Seva and awareness.
ReplyDeleteReally enjoyed this post about creating custom brushes — it’s so cool how much control Photoshop gives you when you design your own tools! Custom brushes are such a game‑changer because they let you tailor texture, shape, and stroke behavior exactly to your creative needs, whether you’re working on illustrations, backgrounds, or special effects. Learning how to build and save your own brushes can open up so many creative possibilities and make your workflow more efficient and fun. For anyone looking to expand their brush toolkit even further, this guide on Best Photoshop Brushes highlights some excellent brush recommendations and tips for choosing versatile brushes for different types of projects. Great post — thanks for sharing!
ReplyDelete